
Some small objects require high-precision detail cutting during production. Many manufacturers wonder if a laser marking machine, used for marking logos, parameters, and other identifiers on products, can be used for such detailed cutting processes? What are the differences between a laser marking machine and a laser cutting machine?
Laser cutting machines primarily use the high-power density energy generated after laser focusing to cut metal and non-metal materials. They are fast, highly precise, and produce high-quality products, a level of quality unattainable by other cutting machines. Laser marking machines, on the other hand, use a laser beam to create permanent marks on various material surfaces. Many people may not know that some hardware parts and electronic components are marked using laser marking machines. They can also be used for marking in non-metal processing industries such as clothing, leather, craft gifts, packaging, advertising, wood, textiles, plastics, signage, electronics, watches, glasses, printing, and decoration.
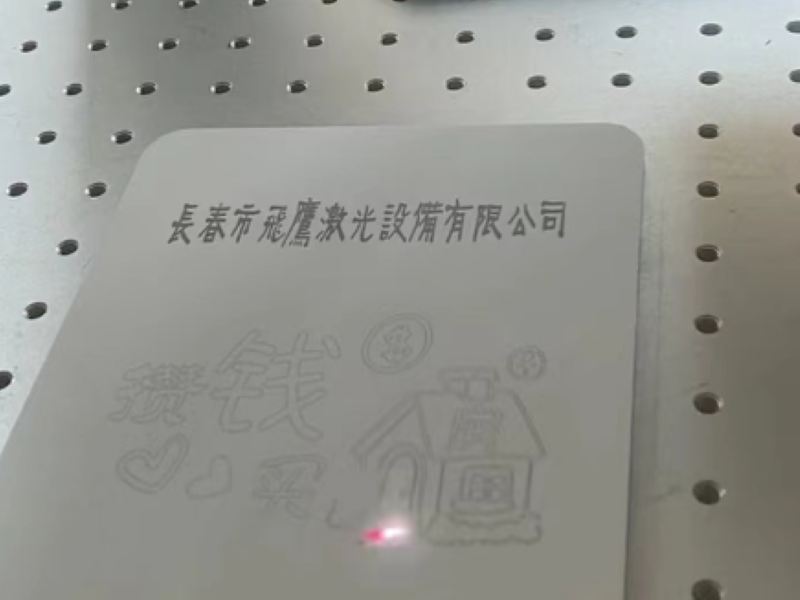
While it can be used for cutting, it can only cut thinner materials. For cutting purposes, it's better to use a dedicated laser cutting machine because the power of a marking machine is not as high as that of a laser cutting machine. If you absolutely need to cut thick materials, the speed will be very slow, and the results will not be very good. For example, for metal marking, it's quite simple; the shallower the desired effect, the faster the speed. For thicker effects, it might take several minutes to achieve the desired result. Therefore, for cutting, a laser cutting machine is recommended.
Similarly, a laser cutting machine can also be used to mark products.
A laser cutting machine can perform marking and engraving functions through a technique called laser marking. Below are the general steps for laser marking with a laser cutting machine:
1. Preparation: Determine the pattern or text to be marked. The designed pattern or text can be created using computer software (such as AutoCAD, CorelDRAW, etc.) and imported into the laser cutting machine's control system.
2. Configure laser parameters: Set appropriate laser parameters, such as laser power, focal length, and scanning speed, based on the type of material to be marked and the requirements. The selection of these parameters will affect the marking effect and speed.
3. Positioning and calibration: Place the material to be marked on the laser cutting machine's worktable and ensure it is correctly aligned with the laser beam. Perform necessary calibration to ensure the accuracy and consistency of the marking. 4. Marking Process: The laser cutting machine uses a laser beam to perform point-by-point or continuous marking on the material surface according to the preset pattern or text. The laser beam's movement and position control on the material surface are achieved through a scanning lens in the control system.
5. Marking Inspection and Adjustment: The marking effect can be observed at any time during the marking process. If adjustments or corrections are needed, the laser parameters can be modified or the material can be repositioned according to the actual situation.
It is important to note that different laser cutting machines may have different marking functions and control systems, and the specific operating steps may vary. Therefore, before using a laser cutting machine for marking, it is best to carefully read and understand the relevant equipment manual and operating instructions to ensure correct operation and achieve the desired marking effect.